Request a FREE Quote


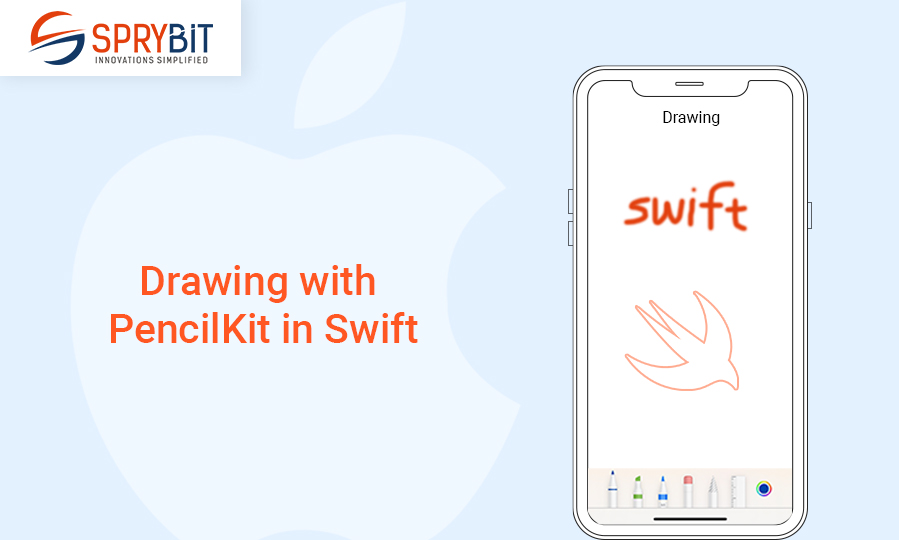
Apple presents PencilKit in iOS 13, Before iOS 13, integrating Apple Pencil was more complicated. It provides a set of tools & APIs to easily add draw, sketch & annotation capabilities within an app. It is the low latency framework used by Apple across their applications.
With this, we can create a canvas where users can draw with various brush styles, adjust colors and opacity, and add annotations like text and shapes. The framework provides tools for detecting gestures like taps, double-taps, and finger interactions, allowing for a rich and intuitive drawing experience.
Also Read: Scade Enable Android App Development With Swift
PKCanvasView: It allows users to draw on the canvas using touch or stylus input. It handles touch events and provides a smooth and responsive drawing experience. It also represent tool picker to the users and it supports gestures like long-pressing, tapping, double-tapping, which developers can customize and respond to as needed.
PKInkingTool: It offers various pen tip styles, including round, square, and image-based pen tips. Developers can choose the desired tip style to provide different visual effects and simulate different writing or drawing tools.PKToolPicker: The PKToolPicker presents a set of drawing tools that users can choose from. It typically includes options like pens, pencils, markers, highlighters, rulers, color picker and erasers. Users can select the desired tool to change the behavior of their input and customize the appearance of the strokes.
PKDrawing : It represents a collection of strokes and other drawing data
override func viewDidLoad() {
      super.viewDidLoad()
      canvasView.delegate = self
      canvasView.becomeFirstResponder()
}

override func viewDidAppear(_ animated: Bool) {
   super.viewDidAppear(true)
      setUpCanvasView()
}

func setUpCanvasView() {
      if let window = view.window, let toolPicker = PKToolPicker.shared(for: window) {
       toolPicker.setVisible(true, forFirstResponder: canvasView)
       toolPicker.addObserver(canvasView)

      }
} extension ViewController: PKCanvasViewDelegate {
func canvasViewDrawingDidChange(_ canvasView: PKCanvasView) {
print("drawing")
}
func canvasViewDidEndUsingTool(_ canvasView: PKCanvasView) {
print("End using the PK tools")
}
func canvasViewDidFinishRendering(_ canvasView: PKCanvasView) {
print("Completed the UI Event")
}
}
class SecondViewController: UIViewController {

 @IBOutlet weak var trashBtn: UIButton!
 @IBOutlet weak var imgView: UIImageView!

 var image = UIImage()

 override func viewDidLoad() {
     super.viewDidLoad()
     imgView.image = image
}
    @IBAction func trashBtnTapped(_ sender: UIButton)
{
     self.dismiss(animated: true, completion: nil)
 }
}
@IBAction func imageBtnTapped(_ sender: UIBarButtonItem) {
     let image = canvasView.asImage()
     if let secodVC = self.storyboard?.instantiateViewController(identifier: "SecondViewController") as? SecondViewController{
         secodVC.image = image
     self.navigationController?.present(secodVC, animated: true, completion: nil)
     }
}

Read More:
Revolutionizing Mobile App Development with Kotlin Multiplatform
Contact us OR call us to get FREE estimate